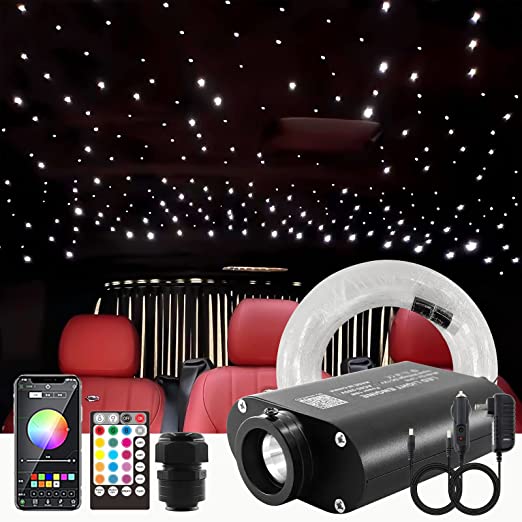
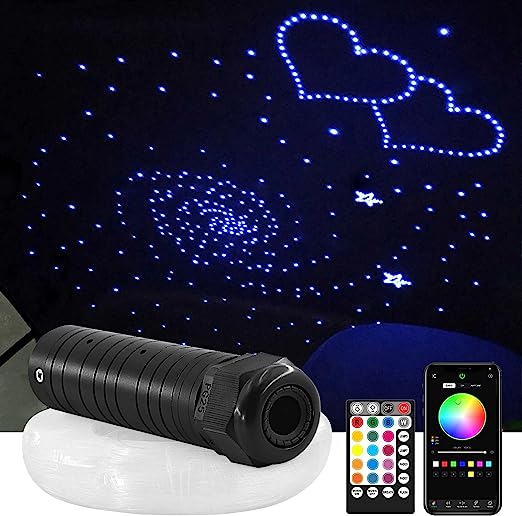
When installing the starlight ceiling, pay attention to the following key steps when arranging the optical fiber:
Fiber reservation and threading
Before installing the ceiling, reserve the threading channel for the optical fiber. You can run the line along the edge of the roof or inside the body.
Thread the line carefully to avoid the optical fiber being pulled or broken. You can use plastic tubes or hoses to protect the optical fiber.
Fiber fixation
Fix the optical fiber to the reserved channel, you can use tape, cable ties or clips, etc.
When fixing, pay attention to keep the fiber curvature radius greater than the minimum bending radius to prevent the optical signal from attenuating.
Fiber connector
Reserve appropriate length at both ends of the optical fiber to connect the light source and the light point in the future.
Use professional fiber optic connectors or couplers to connect the connectors to ensure good optical signal transmission at the connectors.
Distribution of light points
According to the canopy structure and user needs, the location and density of the light points should be reasonably arranged.
The light points can be arranged in a uniform distribution or a specific pattern.
Overall wiring
Install the optical fiber together with the canopy body to ensure that the line is neat and beautiful and does not affect the normal use of the canopy.
Leave an appropriate length for subsequent maintenance and adjustment.
The entire wiring process needs to be careful to avoid damage to the optical fiber. If in doubt, you can seek guidance from professionals to ensure that the optical fiber system is installed reliably and stably.


