

Step 1: Headliner removal
Removing the roof liner is a difficult process and requires different or specific tools to accomplish. Some vehicles need to remove the pillar covers, sun visors and other interior parts before removing the roof liner, so you are expected to study the interior of the car before you officially start the removal process to avoid unnecessary trouble. In some vehicles, it is possible to remove the roof liner directly from the trunk or one of the passenger doors with some flexible maneuvers. It may be necessary to remove the seats first.
Step 2: Plotting stars
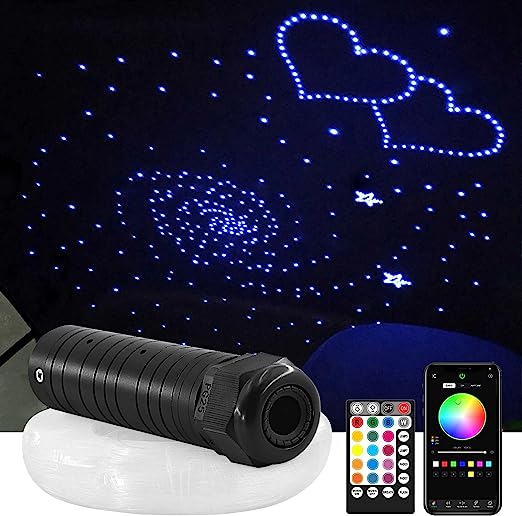
If you have removed the roof liner from your vehicle, you can now begin to plotting stars on top of the roof liner. If necessary, remove excess foam and plastic from the top of the roof liner. Many of these pieces can get in the way and limit your ability to create a good starry sky. Next, draw where you need to punch the holes in the headliner with a pen first, as the holes are very small and can be easily overlooked if you don't mark them with a pen. If you want to make some shape patterns, such as: stars, moon, galaxies, etc., you can also use the pen to draw the pattern first, in your favorite way to draw them, some people like to set the lights into a pattern, others like to randomize the arrangement, it's totally up to you.

Step 3: Punching Holes
Next, grab your decorative pins or drill bit and start pinning holes in the spots you've marked. You want them to be large enough so that the fiber optic lights can be inserted through the holes. Do this gradually according to your markings until you have punched all the holes.
Step 4: Determine Light Source
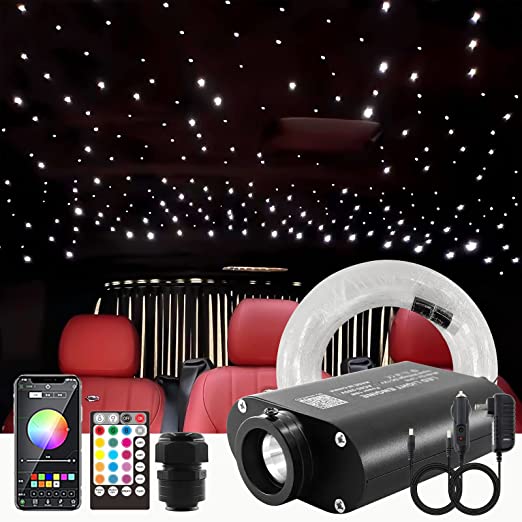
Location Before we start setting up the fiber optics, determine where you want to place the light source apparatus. When determining the location of the light source, consider the size of the light engine, the length of the power cord, the length of the fiber optics, and the available space to extend the optics out from the roof liner if necessary. For some kits, the light engine can be small enough to fit them directly into the roof liner, while larger kits requiring a stronger power source will need to be relocated to the trunk, under the seats, or under the dashboard. If the light source needs to be placed in a different area of the vehicle, plan the path of the fiber optic light through the strut to the light source, making sure the fiber optic is long enough to reach the location where your light source will be located.

Step 5: Setting Up Fiber Optic Lights
The first section of fiber optic you should set up is the one closest to the light source. If you are placing the light source in the trunk, then it will need to be. You need to start laying out the fiber optics from the back of the headliner. After placing a section of light into the hole, use hot glue or adhesive to secure the light in place. We prefer to use hot glue because the heat helps the lights bend slightly to be flush with the roof liner and tilt them in the direction of the light engine or strut exit.

Step 6: Straighten out the fiber optics and reinstall the roof
liner Straighten out the fiber optic cables (a few dozen in a small bundle) and tidy them up with tape, making sure they aren't blocking any of the gaps in the roof liner used for map lights and such.
We recommend testing your setup before refitting to ensure all areas of the Starlight roof liner are lit. Once ready, follow the reverse process of removing the roof liner to reinstall it back into the car, best done with the help of someone else as the extra weight of the fiber optics and light engine can be difficult to manage just on your own. Most headliners will click on certain labeled spots on the ceiling, so be sure to find them beforehand so you know where to push. If the engine is mounted outside the roof liner, make sure you turn the engine on before refitting the rest of the interior.

Step 7: Cut the fiber optic flat.
If you are running the light through the roof liner, use a pair of scissors, or flat-nosed pliers to cut the excess fiber optics from the roof liner.
There are a few different options when it comes to powering your light engine.
Most kits come with a power cord that allows you to plug directly into your vehicle's auxiliary power outlet.
Alternatively, if you wish to hide the power cord from view, or are currently using an auxiliary outlet for some other reason, you can disconnect the outlet receiver and choose to use your own wiring.
We recommend using the fuse connector to activate the Starlight roof liner during certain functions, such as when turning the key to accessory mode.
We recommend tapping into the circuits associated with powering the vehicle's interior lights, radio, or auxiliary power outlets. Please refer to your vehicle's fuse box diagram to find the appropriate fuse.
This concludes our guide to installing your own Starlight roof liner. If you want to find a Starlight kit that fits the size of your vehicle, you can start here. This is a simple workflow that will allow you to find the right starlight kit for your vehicle based on size and star preference.